Eric Morris recently visited BCGG and other gardeners in Pittsburgh. The following is his account of the current state of urban gardening in 2013.
“Here’s an invasive species,” David Pompeani says as he crouches over a garlic bed in the tiny backyard of a 38th Street home in Lawrenceville. “It’s this morning glory that you can’t get to go away. It’ll grow all over your plants.”
Pompeani digs into the ground and plucks the weed from the soil. Although his gardening is now limited to a few beds in a backyard, it wasn’t long ago that Pompeani himself was invading Pittsburgh soil via the act of so-called guerrilla gardening – or gardening on property that didn’t belong to him.
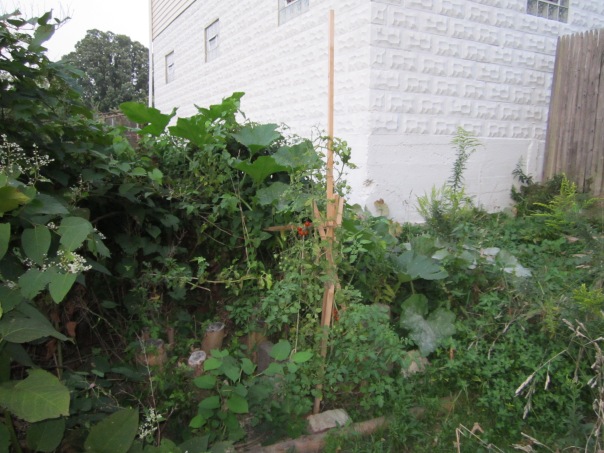
Cherry tomatoes growing amongst the invasive Japanese Knotweed
Guerrilla gardening is one form of urban gardening, a practice that has steadily picked up steam over the past several years. Guerrilla gardens, backyard gardens, community gardens and market-based, for-profit gardens continue to pop up all over Pittsburgh, serving the dual-purpose of providing fresh, homegrown produce for local communities and covering the unpleasant blight of neglected properties.
And it’s not just happening in Pittsburgh.
A 2011 report by the American Planning Association discusses the efforts of city governments to recognize the rising popularity of urban agriculture in North America and respond to the needs of the urban agriculture community.
Community gardens can now be found in all 50 states, according to a 2012 survey by the American Community Gardening Association and Rutgers University. Almost 40 percent of the 9,000 gardens listed in the survey were built within the last five years.
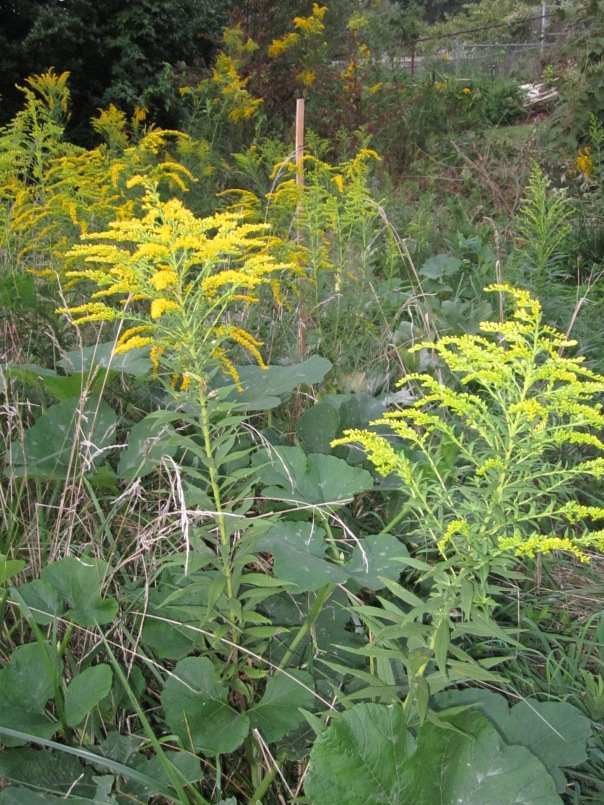
Pumpkin plant growing with the grass and Goldenrod in a city lot.
And perhaps most telling, part-time gardener Ron Finley became the man of the hour after a stirring 10-minute speech at a TED conference in Long Beach, Calif. in February promoting guerrilla gardening in low income areas. Finley, who has been rejuvenating vacant lots in Los Angeles since 2010, preached the importance of guerrilla gardening for solving inner-city woes. His speech has received nearly 1 million views on TED’s website.
Pompeani and his small group of friends began their gardening adventures in 2010, planting in a vacant lot on 46th Street in Lawrenceville before moving operations to an empty lot on 38th street, not far from the garden he currently operates in his friend’s backyard.
“Red bricks, coal debris, broken glass – those three things are in infinite supply in the soil,” Pompeani said of the small lot before they had cleared the ramshackle plot of land and hauled in the soil. In place of rocks and bricks, the group planted tomatoes and peppers, a raspberry bush, anything they felt like consuming.
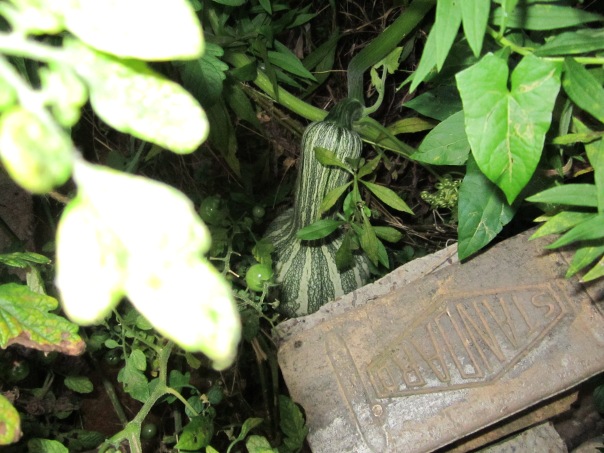
Winter squash growing in the weeds behind bricks used to hide it from the local groundhog.
Despite obtaining a permit from the city through Mayor Ravenstahl’s Garden Pittsburgh Program and assuming responsibility for the lot for nearly two years, Pompeani was forced from the lot last fall when the city sold the lot that hosted his gardening operation. A house is currently being built in its place.
Since 1950, Pittsburgh has seen its population decrease by more than half, taking a good chunk of its housing along with it. This has created an abundance of vacant lots around the city, sitting unused, revealing blight.
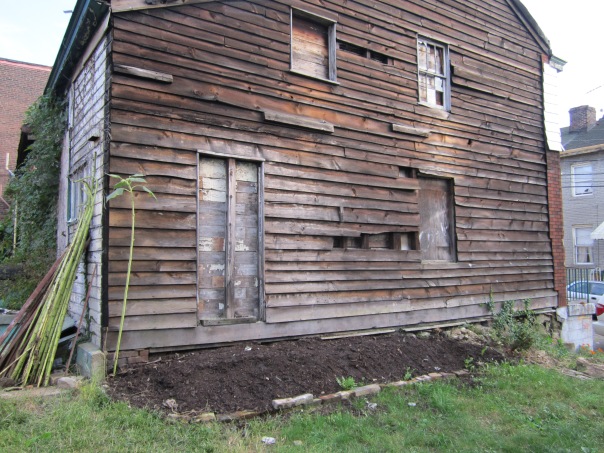
Abandoned house from the late 1800’s adjacent to the garden.
Ed Jacob of the City of Pittsburgh’s Real Estate Division estimates that there are about 4,000 city-owned vacant lots in Pittsburgh, and the city actively attempts to sell all of them, garden permit or not.
“Having a garden permit does not prohibit us from selling a city lot,” said Jacob. “The permit doesn’t create any sort of warranty or guarantee, other than the fact that, yes, this lot is owned by the city and you’re given permission to garden on it.”
Pompeani wasn’t the only one who was sad to see it go. Denise Chirico’s backyard abutted the rear of the garden, which ran the entire length of the lot some 50 feet to the edge of the sidewalk. And it was wonderful, she said.
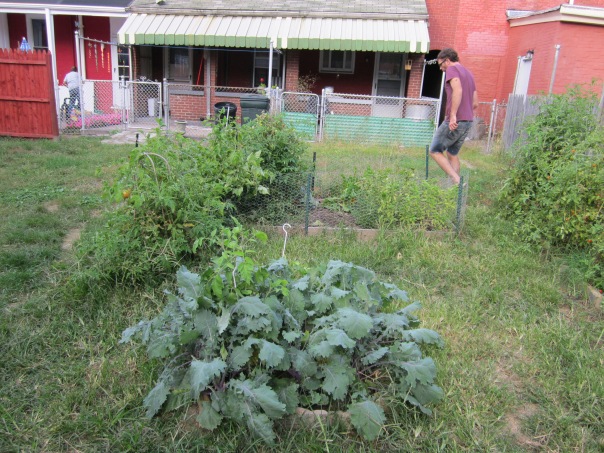
Part of the BCGG located behind Denise’s house in 2011. Note the Kale located in the front.
“It made the lot look so much better. It looked like it was out in the country, that’s how good the garden looked. I think every vacant lot should have that – here in Lawrenceville and everywhere.”
Well, Rev. John Creasy is working on that.
Just a mile and a half away on a hillside in Garfield, on the corner of Wicklow and Cornwall streets, Creasy, associate pastor at the Open Door Church in East Liberty, spends his Thursday nights at the Garfield Community Farm, curating community gardening sessions at the three acre tract of land of about 25 lots that were once vacant.
“It was just completely abandoned land,” said Creasy.
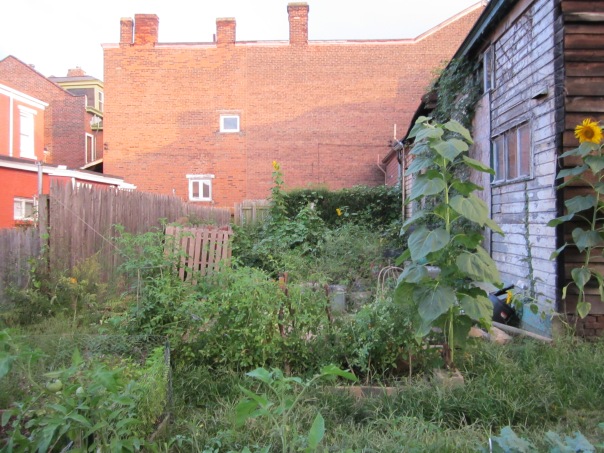
Another view of the 2011 BC garden lot. Mammoth Sunflowers are growing on the right.
When he began gardening the land in 2008 in collaboration with two other local church organizations, the lots, which once held houses, were owned by the City of Pittsburgh, the Urban Redevelopment Authority and private owners. Creasy and company bought 14 of the lots for $1,000 each and have been granted permission to use the remaining lots through the Green Up Pittsburgh Program, a city-funded program for residents to assume care for vacant lots in city neighborhoods.
The Green Up and Garden Pittsburgh programs are just a few measures that Pittsburgh has taken to give residents a chance to revitalize their neighborhoods while growing their own food at the same time, according to Leah Smith of the Pennsylvania Association for Sustainable Agriculture.
“Pittsburgh has taken steps to really facilitate urban agriculture,”
said Smith. “The city has recently passed new zoning ordinances to help make it legal for people who want to do urban agriculture in the city. They can now sell products directly from urban garden locations.”
And that’s just what the Garfield Community Farm is doing. Now, the garden is home to what Creasy says is “a little bit of everything,” a variety of produce which the group sells to subscribers, farmers’ market patrons and local restaurants.
They also donate amply.
“This neighborhood is really focused on getting food to our lower-income neighbors, so we get food into the hands of the people in our community.”
The Garfield Community Farm isn’t unlike what Mindy Schwartz was doing in Wilkinsburg several years prior.
For Schwartz, what began with a couple tomato seedlings grew into a garden of tens of thousands of them. In 2001, Garden Dreams Urban Farm and Nursery was born on a quarter-acre site of former abandoned properties on Holland Avenue.
“Allegheny County has a program where if you’re a property owner you can buy a side lot for your own use,” said Hannah Reiff, production manager and one of two employees under Schwartz at the for-profit Garden Dreams.
The Allegheny County Vacant Property Recovery Program allows residents to purchase blighted properties for around $4,000 and reuse them as residential side yards, community parcels or affordable housing developments.
Schwartz bought the two lots where the garden sits in addition to the surrounding properties. She owns a total of four buildings on Holland Avenue and Center Street, two of which remain vacant and the other two acting as a tool shed and seedling growing area.
While Garden Dreams specializes in heirloom tomatoes, Reiff says they grow numerous other vegetables including peppers, lettuce, broccoli and rhubarb, all of which they sell to the East End Food Co-op and Whole Foods markets while also offering their produce at wholesale prices to local schools and nonprofits.
So while invasive species try to take over garden beds everywhere, now there are Pompeanis and Creasys and Schwartzes invading vacant lots all over Pittsburgh, crouching to pluck those pesky weeds so they can get back to revitalizing a city and growing the food that fuels.


 One Sucker Tobacco getting close to harvest.
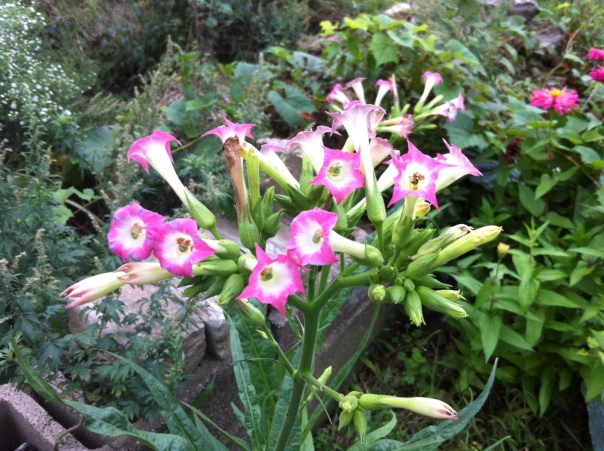


")


